
Get Up and Running with a Clojure Development Environment
Overview
Getting setup with Clojure has evolved and changed over the years. We have found it helpful to document and describe our procedures to installing and configuring Clojure for development, guiding those new to the ecosystem through the forest of tooling available.
Picking an Environment
Depending on where you’re coming from can determine what development environment might feel most familiar. The following are guidelines you can use to choose an environment based on where you’re coming from:
| Coming From: | 1st Recommendation | Alternative |
| Visual Studio | IntelliJ + Cursive | VSCode + Calva |
| IntelliJ/PyCharm/RubyMine | IntelliJ + Cursive | VSCode + Calva |
| Python / Ruby / Javascript using Emacs | Emacs + Cider |
Currently, we have our engineers configured in 3 installation/configurations and 3 development environments. Installations
- MacOS
- Windows
- Ubuntu
Development
- VSCode / Calva
- IntelliJ / Cursive
- Emacs
Installing Clojure
On MacOS
(approx. 10 minutes)
Ensure you have the Homebrew Mac Package manager installed. (approx. 5 minutes)
Follow the instructions for installing Clojure using Homebrew here. (approx. 5 minutes)
Open a terminal window and make sure you can start a REPL:

Once you’re able to start a REPL on the command line, proceed to the tools section.
On Windows
(approx. 15m)
The best way to run Clojure on Windows is to use a hypervisor and do everything within a VM running a Linux distro. For tools you can use VSCode, Emacs or IntelliJ. If you’re already familiar with VSCode, start there.
NOTE: If you’re running Windows and have WSL (Windows Subsystem for Linux) working, the instructions for setting up Clojure and VSCode on Linux should work the same.
What follows is a recipe for setting up a Ubuntu distro from scratch. The examples provided here were done on a hypervisor (Parallels) running a Ubuntu 20x VM.
The only thing you need to know is how to start your linux VM and open a terminal to get to a command prompt. If you’re new to Linux you might want to read:
25 Shell commands everyone should know.
On Ubuntu
Prepping the Distro
From your Ubuntu distro, open a terminal window and run the update and upgrade commands:
1. From the terminal:
| sudo apt update |
1. From the terminal:
| sudo apt upgrade |
1. Confirming Java:
Once these have been completed, you can determine if java is on the machine by executing:
| java —version |
If there is a supported version already on the machine, move on to the next step. You can install the latest version of the jdk using the following:
| sudo apt install default-jdk |
1. Installing Clojure and clojure/tools:
Follow the instructions for installing Clojure on Linux using the Getting Started page.
Go to “Installation on Linux” section and follow the instructions using the install with Linux script installer.
For the installation of the dependencies (bash, curl, rlwrap, and Java); Java was already taken care of in a previous step. Curl and rlwrap can be installed utilizing ‘apt install’ from the terminal window:
sudo apt install curl
sudo apt install rlwrap
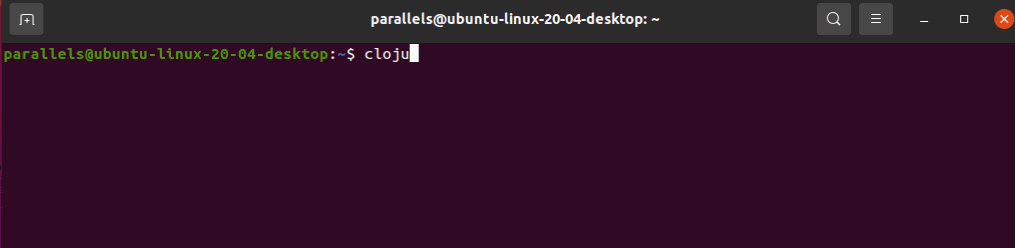
After you have run the script installer, make sure you can start a Clojure repl. At the terminal prompt, type:
| clojure |
It should download some dependencies, print the Clojure version and bring up a repl prompt:
Once you have a repl running, go to Tools.
Development Tools
There is a good list of tools on the Clojure site: Clojure Tools – Editors and Build Tools.
VSCode
(approx. 10 minutes)
Installing
Follow the instructions for installing VSCode on either Mac or Ubuntu here:
NOTE: For Ubuntu, you can download the deb file from the web site and install it at the command line (the command below assumes the downloaded deb is in the current directory).
| sudo apt install ./code_1.63.2-1639561157_arm64.deb |
The file name may be different depending on the current version.
Setting up Calva
Fire up VSCode and go to the extensions. Type, Calva and click install.
IntelliJ + Cursive
(approx. 10-15 minutes)
If you already have IntelliJ, try Cursive plugin for Clojure development in IntelliJ. If you have VSCode, use Calva.
Emacs and Cider
(approx. 10-15 minutes)
If you’re an emacs user, this is the most popular platform used for Clojure development.
Vim
(approx. 10-15 minutes)
For traditional vim a starting setup may include (using vim-plug for the example):
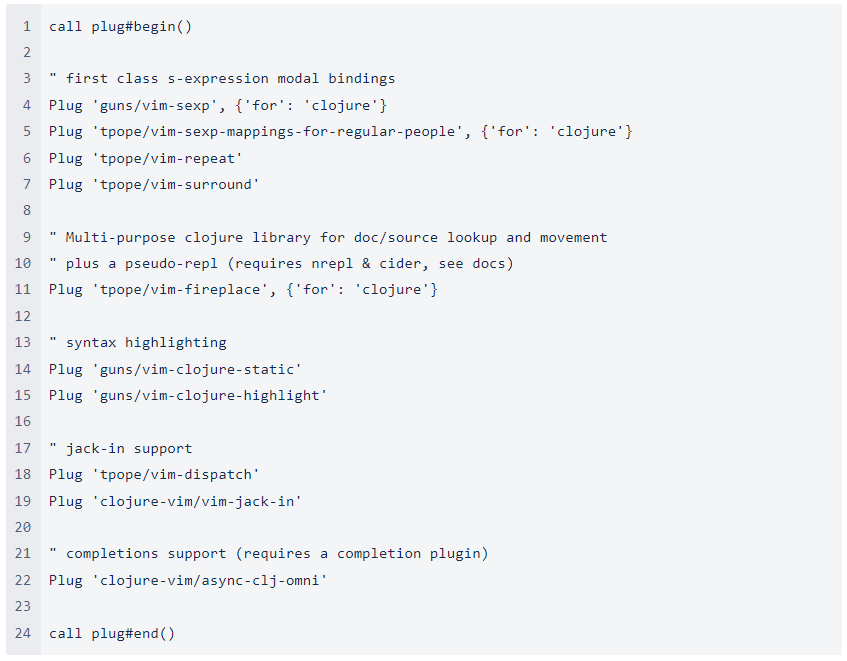
If you would like a more IDE-like experience in Vim8+ vim-iced has a rich (and growing) feature set.
Neovim
If you would like to keep a minimal install, we recommend re-using the above vim config, swapping vim-fireplace out for ‘Olical/conjure’ and adding ‘radenling/vim-dispatch-neovim’ as a compatibility shim for jack-in support.
For the more adventurous you may want to look into magic-kit, a Conjure starter-kit that not only includes an excellent (larger) plugin list but also allows you to write your neovim configurations in Fennel- a clojure-like lisp built on Lua!
Test Your Environment
Basics commands for starting out with your tools.
1. Navigating files in a project
a. tools deps projects
b. lein projects
2. Starting a REPL
a. Eval current form
b. Eval top form
c. Load file
d. Breakpoints and debugging
3. Find all references
a. Calva – shift + option + F12
4. Goto definition
a. Calva – F12
b. Calva – To go back, ctrl
5. Show docs
6. List publics in a ns